When creating an app for macOS—whether it’s for social media content, a productivity tool, or business—it’s crucial to understand how to use PNG images in macOS to achieve a clear, modern, and user-friendly interface. Proper use of transparent and high-resolution PNGs helps not only with aesthetics but also with performance and accessibility. Especially in today’s fast-paced competition, a polished visual experience can win users over.
PNG images offer clear graphics, transparency support, and flexible integration with various macOS device screen sizes. In this article, you’ll learn how to prepare, optimize, and use them with Xcode, SwiftUI, and AppKit.
Key Points Discussed in This Article
- Understand why the PNG format is ideal for macOS apps.
- Learn the process of importing PNGs into Xcode and deploying them using SwiftUI and AppKit.
- Discover performance optimization techniques and best practices for using PNG assets.
Why PNG Is Ideal for macOS App Interfaces
PNG (Portable Network Graphics) is an image format known for its lossless compression, meaning image quality remains intact even after repeated saves. For developers who want to ensure their UI looks sharp and presentable, this is a big plus.
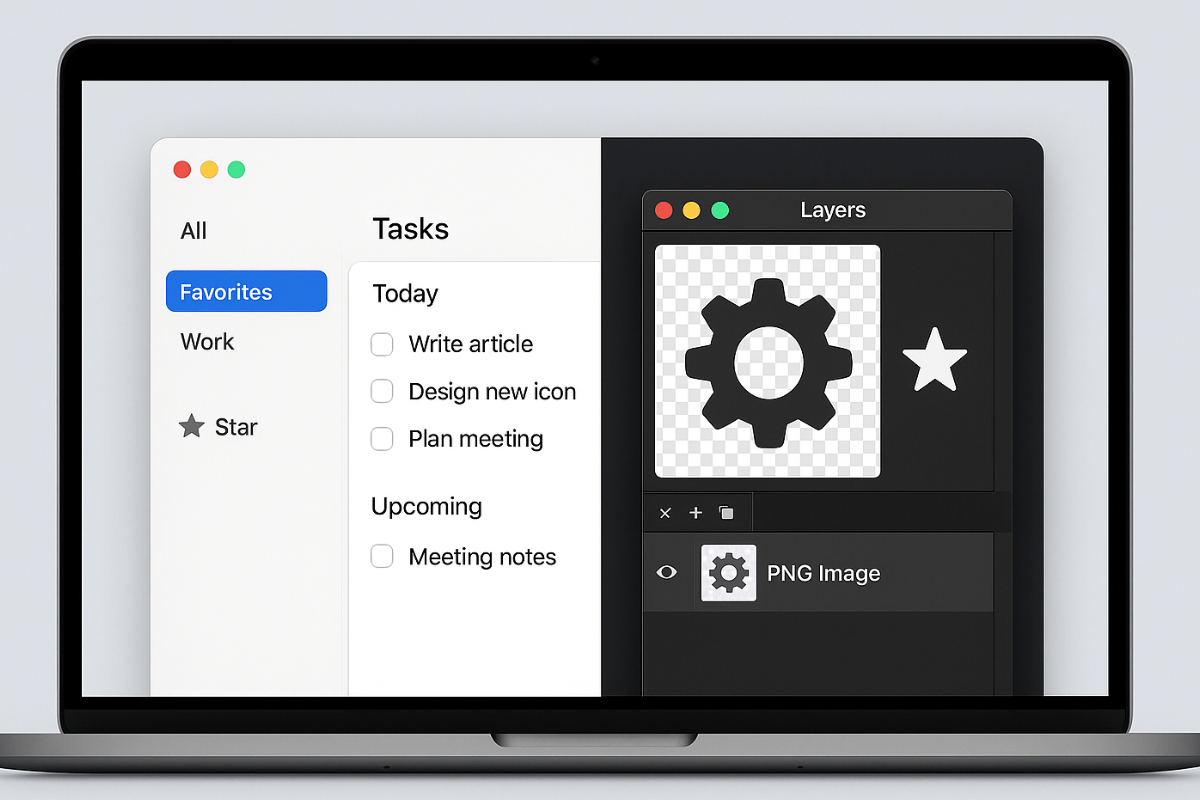
In addition to quality, one of PNG’s key features is transparency. When using button icons or custom shapes in the UI, a transparent background helps the design blend seamlessly with the app’s overall layout. Through PNG images in macOS, you can easily achieve the polished look that users expect.
Another reason PNG is popular in macOS app interfaces is its ability to render well on retina displays. macOS devices have high pixel density, so image assets must be detailed and free from distortion even when scaled up. PNGs provide crisp and professional-looking graphics that don’t become pixelated, ensuring consistent visual quality across all screen sizes—from the MacBook Air to the iMac.
Preparing PNG Assets for the App Interface
Before you can use a PNG image in your project, you need to prepare it properly. Start with high-quality PNG files. You can create your own graphics using design tools like Figma, Sketch, or Adobe Illustrator, or source from free and open-source image repositories like OpenMoji or Heroicons.
Next, import the images into the Xcode Asset Catalog. Use proper naming conventions for image sets, especially when working with multiple resolutions (1x, 2x, 3x). For example, if you have a PNG for an icon, you should also include icon@2x.png and icon@3x.png to ensure clarity across Apple’s retina displays.
Adding PNGs to the Interface Using SwiftUI
In SwiftUI, integrating PNG images is simple. With just Image(“imageName”), you can display an asset from the Asset Catalog. For example:
swift
Image(“logo”)
.resizable()
.scaledToFit()
.frame(width: 100, height: 100)
This simple code snippet displays a PNG logo in your UI that adapts responsively to the layout. You can enhance it with .clipShape(Circle()) to make it round or use shadow() to make it more dynamic.
Another important consideration is accessibility. Always use .accessibilityLabel(“App logo”) to help VoiceOver users understand the content of your interface.
Using PNGs in AppKit (Cocoa)
If you’re using AppKit for macOS development, integrating PNG images works a bit differently. Instead of Image, you use NSImage and NSImageView.
Here’s a simple example:
swift
let image = NSImage(named: “icon”)
let imageView = NSImageView(image: image!)
imageView.frame = NSRect(x: 0, y: 0, width: 100, height: 100)
You can use Interface Builder to drag and drop NSImageView and link it to an image in your asset catalog. Or, if you prefer a programmatic approach, use NSImageView() and directly set the image property.
In AppKit, you should also pay attention to scaling and image interpolation. Make sure the imageScaling property of your imageView is properly set for optimal rendering of PNGs in macOS interfaces.
Animation and Interactive Elements Using PNG
To bring your app’s interface to life, you can use PNG images for basic animations. Create a series of PNG files for a frame-by-frame animation effect. While this won’t be as fluid as native animations, it can be useful for progress indicators or loading animations.
In SwiftUI, use the .animation() modifier for transitions. For example, if you have a toggle button, you can switch PNG icons based on the toggle state and apply a fade effect for smoother transitions.
For interactivity, use PNGs in custom buttons. For instance, you can change a button’s image when the mouse hovers using the onHover modifier.
Performance Optimization for PNG Assets
Not all PNGs are lightweight. Detailed graphics can result in large file sizes. To avoid UI lag, image optimization is key. Use tools like TinyPNG or ImageOptim to reduce file size without compromising visual quality.
Also, use the correct resolution. Avoid using a PNG that’s larger than necessary for the UI element. Instead of one oversized image scaled down, provide multiple resolution variants (1x, 2x, 3x).
To improve performance in long lists or scroll views, implement lazy loading—only loading images when they appear on screen. This reduces load times and memory usage.
If you use the same PNG multiple times across your app, consider caching. In Swift, you can build a custom caching system using NSCache to avoid repeated disk loads.
Real-World Use of PNG Images in macOS in Apps
Many macOS apps today showcase effective PNG integration. Popular tools like Sketch and Bear Notes demonstrate how PNGs support a minimalist yet clear interface. Icons and visual elements are transparent and high-resolution, blending seamlessly with the app’s overall design without being distracting.
When to Use PNGs—and When Not To
Although PNGs offer many benefits, they’re not always the best option for all graphics. If your app uses basic shapes or scalable icons, it’s better to use SF Symbols or vector-based PDFs. These have smaller file sizes and are more flexible when scaling. However, for elements that feature gradients, textures, or transparency effects, PNG images in macOS are still the most reliable.
Adapting PNGs to Light and Dark Mode
If your app supports light and dark mode, it’s good practice to prepare separate PNG variants for each mode. In SwiftUI, you can use .environment(\.colorScheme) to automatically switch images based on the current theme. This supports not only visual consistency but also improves visibility and user comfort.
Testing and Optimization Across Different Screen Sizes
It’s not enough for an image to look good on one screen size. It must maintain consistent quality across all macOS devices—from small MacBook Airs to large iMac displays. Ensure your app’s layout is responsive and your PNGs are optimized for file size to avoid slow loading or UI lag.
A Better UI Through Proper PNG Use
You don’t need to be a graphic designer to build a beautiful interface. With proper use of PNG images in macOS, you can create a clean, responsive, and accessible UI that enhances the user experience. Through careful asset selection, proper integration with SwiftUI or AppKit, and effective optimization techniques, your macOS app can look more professional and user-friendly.
Design isn’t just about how things look. It’s a way of communicating with users. So with every PNG you add to your interface, consider how it helps with clarity, interaction, and user connection. In the end, a well-designed interface is a form of respect for the user’s time and attention.