When developing macOS apps, using custom input views provides users with a more personalized, flexible, and functional experience. Rather than relying solely on default controls, developers gain the ability to design interfaces tailored to their app’s specific needs. For content creators, productivity tool builders, and creative software developers, having a custom input design can speed up workflows and provide better interaction.
For instance, if you’re building a graphic design app for macOS, standard text fields and sliders may not suffice. You’ll need more dynamic controls like color pickers, gesture-based sliders, or keyboard-driven interfaces. This is where custom input views become essential.
Key Points of the Article
- Explains the concept of input views in macOS apps and their use cases
- Guides how to create your own input view using AppKit
- Covers interaction handling, UI customization, and integration with app logic
- Includes a section on using SwiftUI as an alternative
Understanding Input Views in macOS Apps
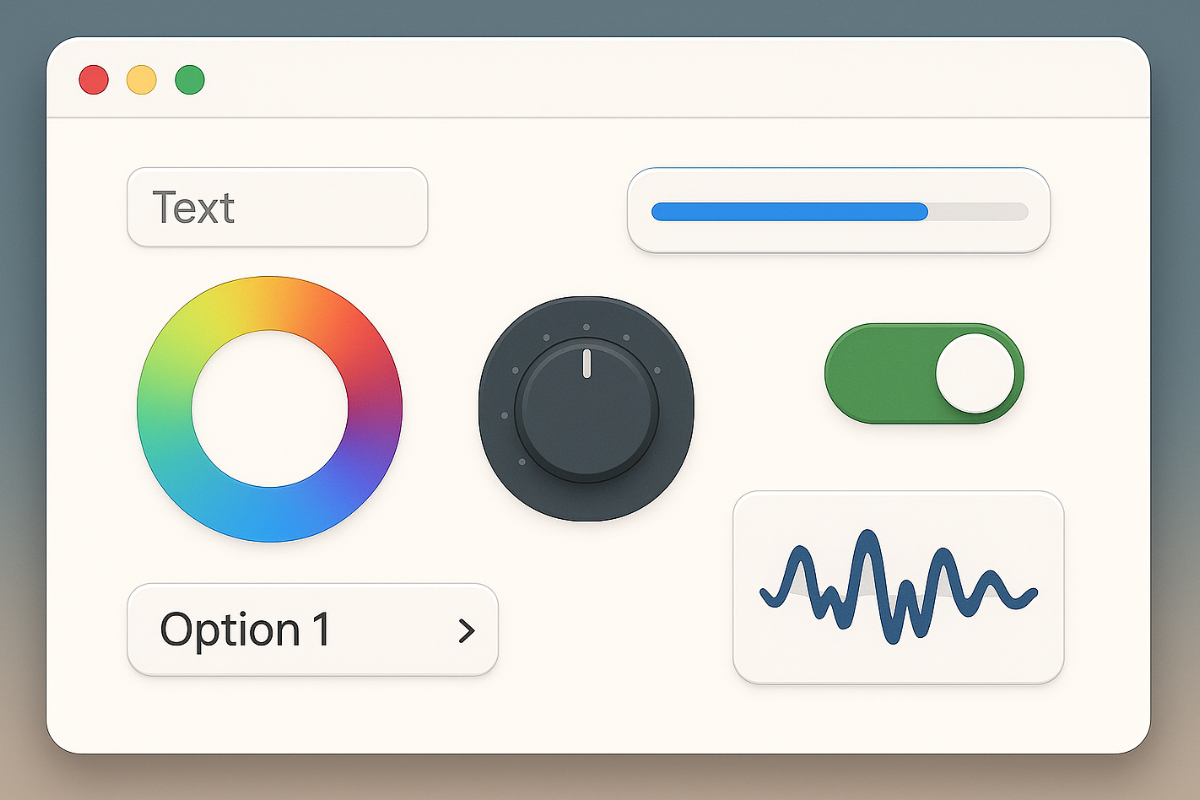
Input views are parts of the user interface that accept user input, such as keyboard input, mouse clicks, gestures, or other forms of interaction. In macOS apps, these are typically represented by elements like NSTextField, NSButton, and NSView. But for more complex apps, custom-designed components are often necessary to better serve the product’s purpose.
For example, a music production app might use dials, touchpads, or waveform scrubbing input—things that default components can’t handle well. In such cases, building a custom input view allows precise control over behavior, visual feedback, and responsiveness.
Key Components You’ll Need
To build custom input views, understanding the basics of AppKit is important. You’ll work with classes like NSView, NSResponder, and NSViewController. NSView is the foundational class for visual elements, and it’s usually what you’ll subclass when creating a new input view from scratch.
Using Auto Layout and constraints ensures your design remains responsive and scalable across various window sizes. For example, if you’re building a color wheel that adjusts with the app window size, you’ll need dynamic constraints.
The NSEvent class handles detection of mouse movements, key presses, and other interactions. Additionally, the NSResponder chain helps route events to the correct part of your app.
Drawing a Simple Custom Input View
Start by creating a new macOS Xcode project using the Cocoa App template to work with AppKit immediately. Create a new Swift file and subclass NSView. In this class, you can override the draw(_:) method to custom-draw your visual elements.
For example, to create a knob for volume control, you could draw a circle with a rotating indicator based on user input. In the mouseDragged(_:) method, you’d update the angle based on cursor position and call needsDisplay to redraw the view.
You can add this view to your main window using Interface Builder or programmatically attach it via the addSubview() method. Whether to use a storyboard or pure code depends on your preference, but for highly dynamic behavior, the programmatic approach tends to be more flexible.
Enabling Interaction and Input Handling
Once you’ve designed the visuals, the next step is handling interactions. How will it respond to mouse clicks? How about key presses? This is where event handling comes into play.
In a custom input view, you override methods like mouseDown(with:), mouseDragged(with:), or keyDown(with:), depending on the type of input you want to support. If you’re using the delegate pattern, you can define a protocol for your input view and pass events to other parts of your app.
For instance, when a user adjusts a value on your custom slider, the main view controller can be immediately notified to update related data accordingly.
Customizing the UI/UX of the Input View
A great input view is not only functional but also visually appealing. macOS apps are known for their high aesthetic standards, so creativity and attention to detail are important. You can use gradients, transparency, rounded corners, and custom icons to enhance the appearance.
Accessibility should also be considered. Use accessibilityLabel and accessibilityRole for custom elements to support users who rely on VoiceOver. Ensure a logical tab order and adequate color contrast for all users.
If your macOS app supports dark mode, use dynamic colors so your input view adapts to user settings. For example, use NSColor.labelColor instead of hardcoded black.
Integrating the Input View into the Broader App Functionality
A functional input view isn’t enough—it must integrate with your app’s broader logic. Using data binding techniques or NotificationCenter, you can pass data from the input view to your app’s model layer.
For instance, if you have a settings form where the user selects a default export format, choosing “JPEG” from a custom drop-down should immediately update the app’s preferences and store the selection.
For more complex state management, the Combine framework is a powerful option in modern Swift-based apps. Using @Published and ObservableObject, you can make your input view reactive to other parts of your app.
Testing and Debugging Custom Input Views
Advanced input views require thorough testing. In Xcode, use the View Debugger to examine the UI’s layer hierarchy and detect overlapping views or constraint issues.
For functional testing, use XCTest to ensure the input view responds correctly to various inputs. For example, check that the app doesn’t crash during rapid dragging or when given zero input.
If you’re doing input validation, such as checking numeric ranges, make sure to have test cases for invalid inputs. This helps catch bugs that often go unnoticed.
Advanced Techniques and Best Practices
As you delve deeper into custom input views, you’ll discover many subtle details that elevate your product’s polish. One of these is keyboard management. Use becomeFirstResponder() to automatically focus an input field.
Ensure intuitive tab order for easy keyboard navigation. Avoid unexpected behavior when switching windows or resizing views.
Creating reusable views is also a good practice. Instead of writing new code for every field, build a generic component that can be configured during initialization. This is especially helpful for large apps.
If your app supports multiple languages, ensure that labels and prompts in your input view are localized. Use a .strings file to simplify translation.
Expanding with SwiftUI
If you prefer a declarative UI development style, you can use SwiftUI. From macOS 13 onward, most SwiftUI features—including input views—are supported.
Instead of subclassing NSView, you can create a View struct with @Binding properties. Interactions like dragging and keyboard input are easy to handle using modifiers.
You can also combine SwiftUI and AppKit in a single project. Use NSHostingView to embed SwiftUI into a traditional AppKit-based app. This approach is ideal for gradually transitioning to SwiftUI while maintaining AppKit’s robust foundation.
A Better User Experience Through Custom Input Views
Designing custom input views isn’t just a technical task—it’s an opportunity to show you care about your macOS app’s user experience. Through thoughtful design, proper interaction handling, and tight integration with app logic, you can create UIs that are not only beautiful but also practical for daily use.
With every pixel you place and every event you handle, you deliver a better experience for your users. Taking the time to refine these details results in an app that leaves a lasting impression.