As more people rely on macOS applications for work, business, and personal use, having robust print functionality has become essential. If you’re a developer looking to add this capability to your app, understanding NSPrintOperation is key.
Printing from a macOS app involves more than just pressing Command + P. It requires configuring your code to align with the design and purpose of your application. In this article, we’ll walk you through how to use NSPrintOperation to integrate print functionality into your macOS applications in a simple, clear, and practical way.
What Will Be Discussed in This Article
- What NSPrintOperation is and how it works in macOS
- Steps to set up print functionality using NSPrintOperation
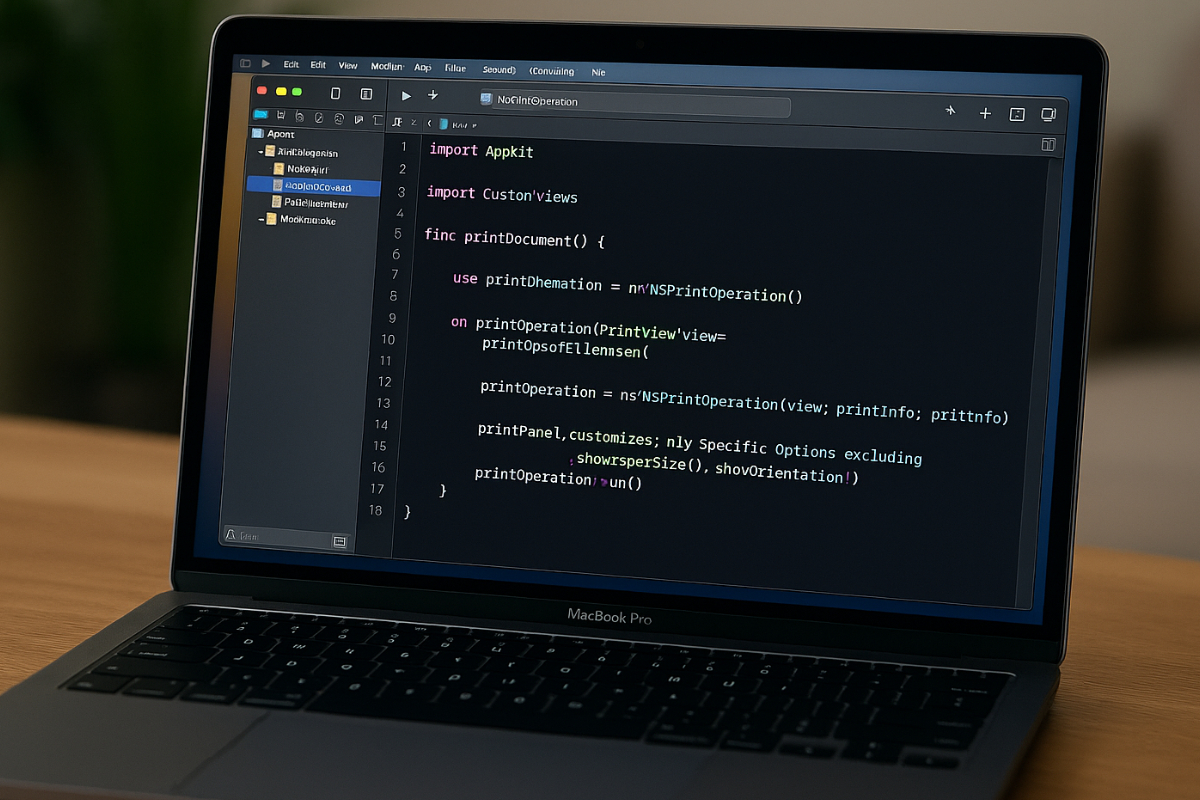
- Using custom views for printing
- Customizing print options such as layout and scaling
- Enabling background printing
- Tips for debugging and testing print features
- Best practices for a smoother user experience
Understanding NSPrintOperation
NSPrintOperation is part of the AppKit framework used in macOS applications. It is responsible for handling the entire print workflow, from displaying the print panel to the actual printing.
Using NSPrintOperation, you can print any NSView. For example, if you want to print an invoice, form, or drawing within your app, you can “wrap” it in a print operation and have the system process it.
NSPrintOperation works alongside other classes like NSPrintInfo, which holds configuration settings (layout, margins, orientation), and NSPrintPanel, which provides the UI for the user to choose settings.
It is important to note that NSPrintOperation provides flexibility in how you want to handle printing: it can run as a modal window, a non-modal operation, or as a background task, depending on the user experience you wish to offer. Methods like run(), runModal(), and runOperation(in:delegate:didRunSelector:contextInfo:) provide different levels of control over the print flow.
Additionally, it offers options for print previews before printing and supports exporting printable content as PDF—a feature often sought after in professional-grade applications.
Key Steps in Setting Up Print Functionality in macOS Applications
Before you start printing from a macOS app, it’s important to understand the steps to properly set it up. Each part of the print operation plays a role in improving the output and user experience. In this section, we will discuss the basic steps from configuration to execution of the print job.
Configuring NSPrintInfo
First, configure the NSPrintInfo object. This is where you set basic details such as paper size, orientation (portrait or landscape), scaling, etc.
Creating the Print Operation
Then, you can create an NSPrintOperation using NSPrintOperation(view: printView, printInfo: printInfo). If you want to show the print panel, use methods like run() or runModal().
Customizing the Print Panel
If you want more control over the user experience, you can configure the NSPrintPanel to display only the relevant options. For example, if A4 paper size is always used, you can lock it so the user cannot change it.
Integrating Print Functionality with Custom Views in macOS Applications
If you have a custom view that you want to print—such as a report, PDF preview, or drawing canvas—you can directly use the NSView as the source. You just need to ensure that the draw(_:) method of your view is properly implemented, as it is used by the system to render the printable content. This is crucial, especially if you are using custom drawing or layout logic.
Another good approach is to create a separate NSView specifically for printing. This setup gives you more control over the final output appearance. For instance, if your UI is interactive with many buttons, you might want to remove those from the printable version and only include the important content. You can also use auto-layout constraints focused on print formatting to ensure consistent layout across different paper sizes.
If you have a form and only want to print the filled-out parts, you can copy the data into an invisible NSView, and that’s what you print. This helps keep the output clean and shows only the relevant details to the user.
This approach not only improves the quality of the print output but also gives your app a more professional overall presentation.
Customizing Print Options
Not all print jobs are the same. Therefore, it’s essential to customize the options based on the app’s usage. In NSPrintInfo, you can set the paper size (e.g., A4, US Letter), margins, scaling, and orientation. These are critical to ensure that your content fits the page.
In NSPrintPanel, you can choose which options to show to the user. For example, if you don’t want them to change scaling or orientation, you can hide those options.
A good example of this is a macOS app for a ticketing system. If you want the ticket format to be standard with each print, you can lock the layout and not show the print panel.
You can also set the default printer or paper settings based on user or company policy settings.
Using Background Printing (Non-blocking Operations)
If your app is doing many things and you don’t want it to freeze while printing, you can run the print operation in the background using the asynchronous method of NSPrintOperation.
Use runOperation(in: delegate: didRunSelector: contextInfo:) to run the print job without affecting the UI thread. This way, the user can continue interacting with the app while printing happens in the background.
It’s also important to handle errors and user cancellations. For example, if the user closes the print dialog, you should display a notification or alert that the print job was canceled.
Debugging and Testing Print Functionality in macOS Applications
Testing is crucial, especially when the output must match the physical printout. In Xcode, you can redirect the print job to a PDF to check if the layout is correct before sending it to the printer.
Ensure that margins, scaling, and content do not exceed the printable area. This is often where issues occur, especially with dynamic content.
It’s also a good practice to have a Print Preview feature in your app. Even a simple PDF output can help avoid wasting paper and ink.
If you have custom graphics being printed (charts, tables, designs), check that the resolution is clear and that no parts are cropped.
Best Practices for Adding Print Functionality Features to macOS Applications
One good practice is to make the print functionality easily accessible. Place it in the File menu as “Print” or provide a command shortcut like CMD + P. You can also add a print button in the interface, especially if it’s frequently used.
Consider localization. If your app supports multiple languages, ensure that the print content is translated where necessary.
For business apps, you can save the last used print settings for faster workflow. Avoid printing too much content. Add pagination if the document is long.
Performance is also important. If the content is large, ensure the app doesn’t slow down while preparing the print view. Use caching or simple layouts if needed.
In the end, the goal is to make it easier for users to print from their macOS applications. With a well-set-up print functionality, your app appears more professional, and the user’s confidence in using it increases.
Making Printing More Meaningful in Your macOS App
Adding print functionality using NSPrintOperation doesn’t have to be complicated. With the right understanding and implementation of AppKit tools, you can make your macOS applications more useful for a wider audience.
It’s not just about the technical part but also about the user experience. When printing from your app is seamless and well-organized, it’s an added benefit that can increase trust in your product. If you want to provide a more complete service, you shouldn’t overlook print functionality as part of your development plan.