In every macOS app, proper management of the app state in macOS is essential for delivering a consistent user experience. Whether you’re building a simple task tracker or a full-featured productivity tool, correctly handling the app state helps prevent performance issues, UI glitches, and data integrity problems. For developers working with SwiftUI, SwiftData provides a powerful way to simplify, organize, and strengthen state management across the entire app.
Key Topics Covered in This Article
- What is app state in macOS and why does it matter in macOS development
- How SwiftData is used for data and state management
- Step-by-step guide to setting up SwiftData
- Techniques for reading, updating, and syncing app state
- Real-world examples and performance optimization tips
Why App State Matters in a macOS App
When we talk about “app state in macOS,” we’re referring to the overall condition of data, UI, and session while the app is in use. For example, in a note-taking app, the current note being edited, the active dark mode setting, and the user’s online or offline status are all part of the app state. If mismanaged, this can lead to bugs like unsaved data, lost context, or inconsistent behavior when reopening the app.
This is where SwiftData becomes valuable. This framework offers a smoother way to handle app state in macOS using declarative programming. It’s one of Apple’s newer tools designed for seamless integration with SwiftUI. If your goal is to make the user experience as smooth and reliable as possible, understanding how to use SwiftData correctly for state management is crucial.
Introducing SwiftData as a State Management Tool
SwiftData is a new persistence framework introduced by Apple. While it shares similarities with Core Data, it uses a more modern approach. It leverages property wrappers like @Model, @Query, and @Bindable, making it highly compatible with the declarative style of SwiftUI.
For example, instead of manually managing NSManagedObject instances or writing fetch requests, SwiftData allows you to bind your model directly to the UI. This minimizes boilerplate code and streamlines the development process, one reason why many modern macOS developers prefer SwiftData for app state management.
Another strength of SwiftData is its tight integration with SwiftUI lifecycles. You don’t have to write separate logic to update the UI when data changes. Once your state is properly set up, the UI reacts automatically.
Setting Up App Structure with SwiftData
To get started, you’ll need to define your data model using the @Model annotation. For example, in a to-do list app, you could define a model like this:
swift
@Model
class Task {
var title: String
var isCompleted: Bool
}
Using a ModelContainer, you can configure where your data will be stored. In the @main App struct, insert the container so it’s available across the entire app:
swift
@main
struct TodoApp: App {
var body: some Scene {
WindowGroup {
ContentView()
}.modelContainer(for: Task.self)
}
}
In your views, you’ll use @Environment(\.modelContext) to access the context and @Query to fetch data. Insert, update, and delete operations are handled here as well. Thanks to built-in SwiftUI integration, there’s no need for complex delegation patterns or manual bindings.
Techniques for Handling App State with SwiftData
One of SwiftData’s most useful features is @Query, which automatically fetches data based on your model. When used in a SwiftUI view, the UI updates immediately when the underlying data changes. For example:
swift
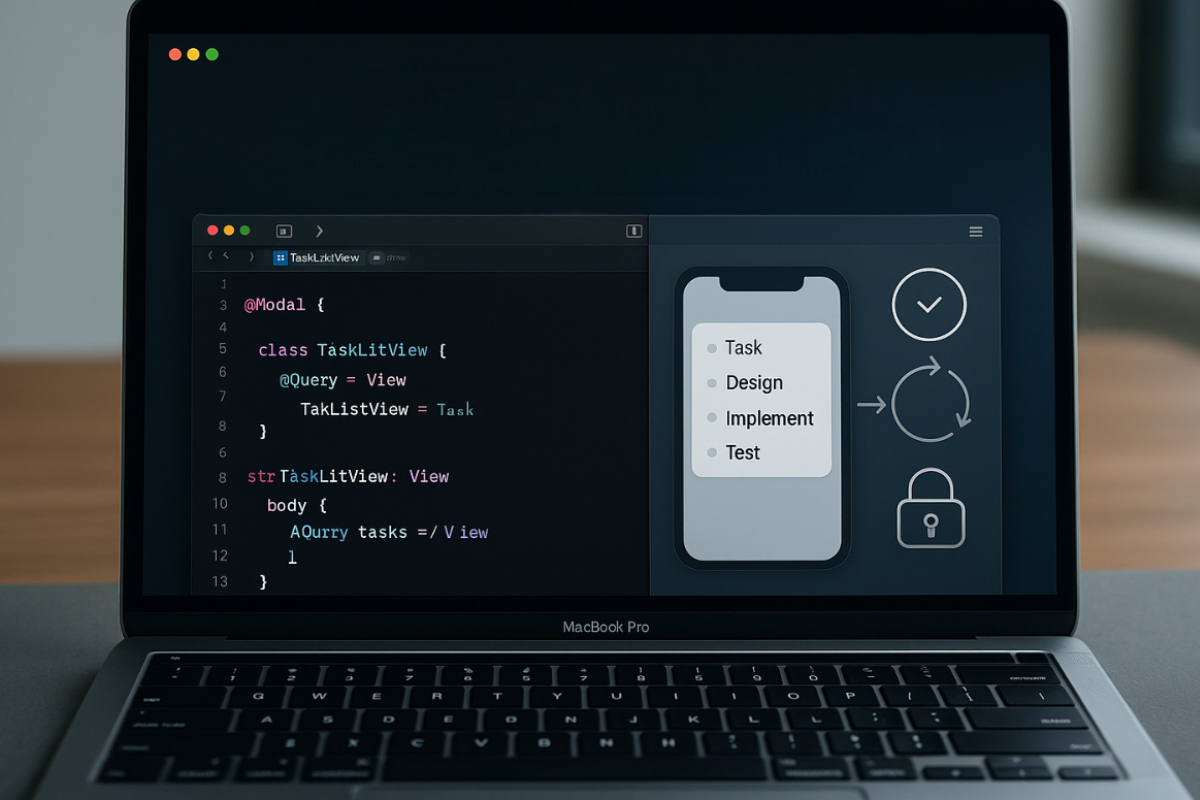
struct TaskListView: View {
@Query var tasks: [Task]
var body: some View {
List(tasks) { task in
Text(task.title)
}
}
}
To add a new task, use modelContext.insert() and modelContext.save() to update the app state in macOS:
swift
modelContext.insert(newTask)
try? modelContext.save()
The UI will automatically reflect the new task—no need to reload the view or set up notifications.
You can sync state across different views using @Bindable, especially when sharing data. For instance, if you’re editing an object and want other views to reflect those changes immediately, a bindable model helps ensure consistency.
Handling Complex State and Relationships
App state isn’t always simple. In larger apps, you might have multiple related objects like User, Task, and Project. In SwiftData, you can define relationships within your model:
swift
@Model
class Project {
var name: String
var tasks: [Task] = []
}
These relationships can help manage state across multiple windows or tabs. For instance, in a macOS multi-document app, proper synchronization between windows ensures shared models stay consistent.
Sometimes, data changes simultaneously in different parts of the app. To prevent conflicts, consider versioning or checking for duplicates before saving. SwiftData includes optimistic concurrency mechanisms to handle such scenarios smoothly.
Tips for Debugging and Testing App State
During development, bugs or unexpected behavior are inevitable. That’s why it’s important to test and debug your app state in macOS using SwiftData safely and effectively.
Use the Console and Xcode Debugger
Print the modelContext to the console to see the actual state of your data. The Xcode debugger also lets you inspect SwiftData models while the app is running:
swift
print(modelContext)
Use an In-Memory Model Container for Testing
To test safely without affecting real data, create an in-memory model container. This allows you to try out insertions, updates, and deletions without touching your production database:
swift
let config = ModelConfiguration(isStoredInMemoryOnly: true)
let container = try! ModelContainer(for: Task.self, configurations: config)
Try Automated Testing with XCTest
Beyond manual testing, use XCTest to set up unit tests. This helps ensure the app state remains intact even when business logic changes. For example, you can test if a new Task is saved correctly or if deletion works consistently.
Automated tests help catch bugs early and maintain your app’s long-term stability.
Keeping Your App Fast and Efficient
As your dataset grows, so does the computational load. To maintain a responsive UI and light user experience, optimize your state management with these techniques:
Use Batching for Large Queries
Avoid fetching the entire dataset at once. Use batching to load a limited number of items—say, 20 to 30 per batch:
swift
@Query(
sort: [SortDescriptor(\.title)],
limit: 20
)
var tasks: [Task]
Move Heavy Tasks to a Background Thread
For tasks like image rendering or data transformation, use a background thread to prevent blocking the UI:
swift
DispatchQueue.global().async {
// Heavy computation
DispatchQueue.main.async {
// UI update
}
}
Always update the UI on the main thread using DispatchQueue.main.async to avoid crashes or unpredictable behavior.
Ensure Secure Data Handling
If storing sensitive info like user credentials or private notes, consider encryption and sandboxing. SwiftData can integrate with Apple security frameworks like Keychain and File Protection to keep data secure.
Add Backup and Recovery Options
For apps with critical data, like journaling or project trackers, add automatic backups. Use iCloud sync or local export/import features to ensure data isn’t lost during crashes or updates.
Real-World Use Cases of SwiftData
Imagine a productivity app with tasks, projects, and tags. Proper state management ensures the right data shows up in each view. With SwiftData, you can easily relate tasks to projects and show only relevant tasks per project.
In a note-taking app that works offline, SwiftData enables local persistence. When the user goes back online, the app can sync with the cloud using the same data structure.
Or take a media organizer app that manages hundreds of files with filters and sorting. Here, SwiftData’s performance optimization and query filtering become vital for keeping the app fast, even with a large dataset.
Leverage SwiftData for Reliable App State
Maintaining a stable and reactive app state in macOS no longer has to be complex. With SwiftData, developers have a modern tool tailored to SwiftUI’s declarative programming style. It simplifies development, improves app performance, and makes managing state across macOS apps more intuitive and robust.